Stable Diffusion tutorial: How to integrate Stable Diffusion into your existing project
Stable Diffusion is amazing!
Stable Diffusion is without a doubt one of the best Text To Image models available on the market. And one of the few ones, which are open source. Therefore, in some cases it is worth opting for it and diversifying your project with it. Thanks to the API/SDK from StabilityAI, this is very easy. If you want to learn how I did it, read this tutorial!
Plan changes
It would be a good idea to start by planning our changes. In this tutorial I will use the GPT-3 Streamlit Boilerplate. I would like it to generate not only text, but also a picture based on the inserted prompt. It would appear below the generated text.
SD/Stability API
In this case, it will use the Python SDK from StabilityAI to access the Stable Diffusion API. To access you need to log in and in your account generate an API Key. We will not use it now, save it for later.
Let’s start!
Clone repository
To get started we need to clone the repository.
git clone https://github.com/nextgrid/streamlit_gpt3_boilerplate
And then go to the directory and create a virtual environment.
cd streamlit_gpt3_boilerplate

python3 -m venv venv
Let's activate the virtual environment.
For Windows users:
./venv/Scripts/activate
For Mac and Linux users:
source venv/bin/activate
Install required dependencies
Now we need to install the required dependencies.
pip install -r requirements.txt
Install new dependencies
Let's install additional dependency - Stability SDK.
pip install stability-sdk
Add necessary changes
Now we need to make some changes to the code. First, we need to add a possibility to access the API. Let's import the necessary libraries.
import io
import stability_sdk.interfaces.gooseai.generation.generation_pb2 as generation
from PIL import Image
from stability_sdk import client
Now let's add the following method to the GeneralModel class, in the model.py file.
def stability_generation(self, inp, api_key):
        stability_api = client.StabilityInference(
            key=api_key,
            verbose=True,  # Print debug messages.
            engine="stable-diffusion-512-v2-1",
        )

        # Create a request.
        result = stability_api.generate(
            prompt=inp, steps=40, samples=1, sampler=generation.SAMPLER_K_DPMPP_2M
        )

        for response in result:
            for artifact in response.artifacts:
                if artifact.type == generation.ARTIFACT_IMAGE:
                    img = Image.open(io.BytesIO(artifact.binary))

                    # return 1st image
                    return img
This method will generate an image based on the prompt entered. It will return the first image from the list of generated images.
Now let's take care of our dashboard. We have to add a new text input, to allow users to provide their Stability API Key. I will add it under input with OpenAI API Key. I will also rename variables with OpenaAI Key.
openai_api_key = st.sidebar.text_input("OpenAI API Key", type="password")
stability_api_key = st.sidebar.text_input("StabilityAI API Key", type="password")
Please remember to change the name of the variable with OpenAI Key everywhere in your code.
At this point we are able to add a function that will trigger the generation of the photo.
def process_prompt_stability(inp):
    img = pred.stability_generation(inp=inp.strip(), api_key=stability_api_key)

    return img
I will also conditionally generate content of the app - if both OpenAI and Stability API Keys are provided.
Also, it is important to add photo generation after text generation.
After adding these two things, my code will look as follows:
if openai_api_key and stability_api_key:
        st.title("Write a poem based on these words")

        s_example = "Birds, flowers, love, sun"
        inp = st.text_area(
            "Use the example below or input your own text in English",
            value=s_example,
            max_chars=150,
            height=100,
        )

        if st.button("Submit Poem"):
            with st.spinner(text="In progress"):
                report_text = process_prompt(inp)
                st.markdown(report_text)

                result_img = process_prompt_stability(inp)

                if result_img:
                    st.image(result_img, caption="Generated Image")
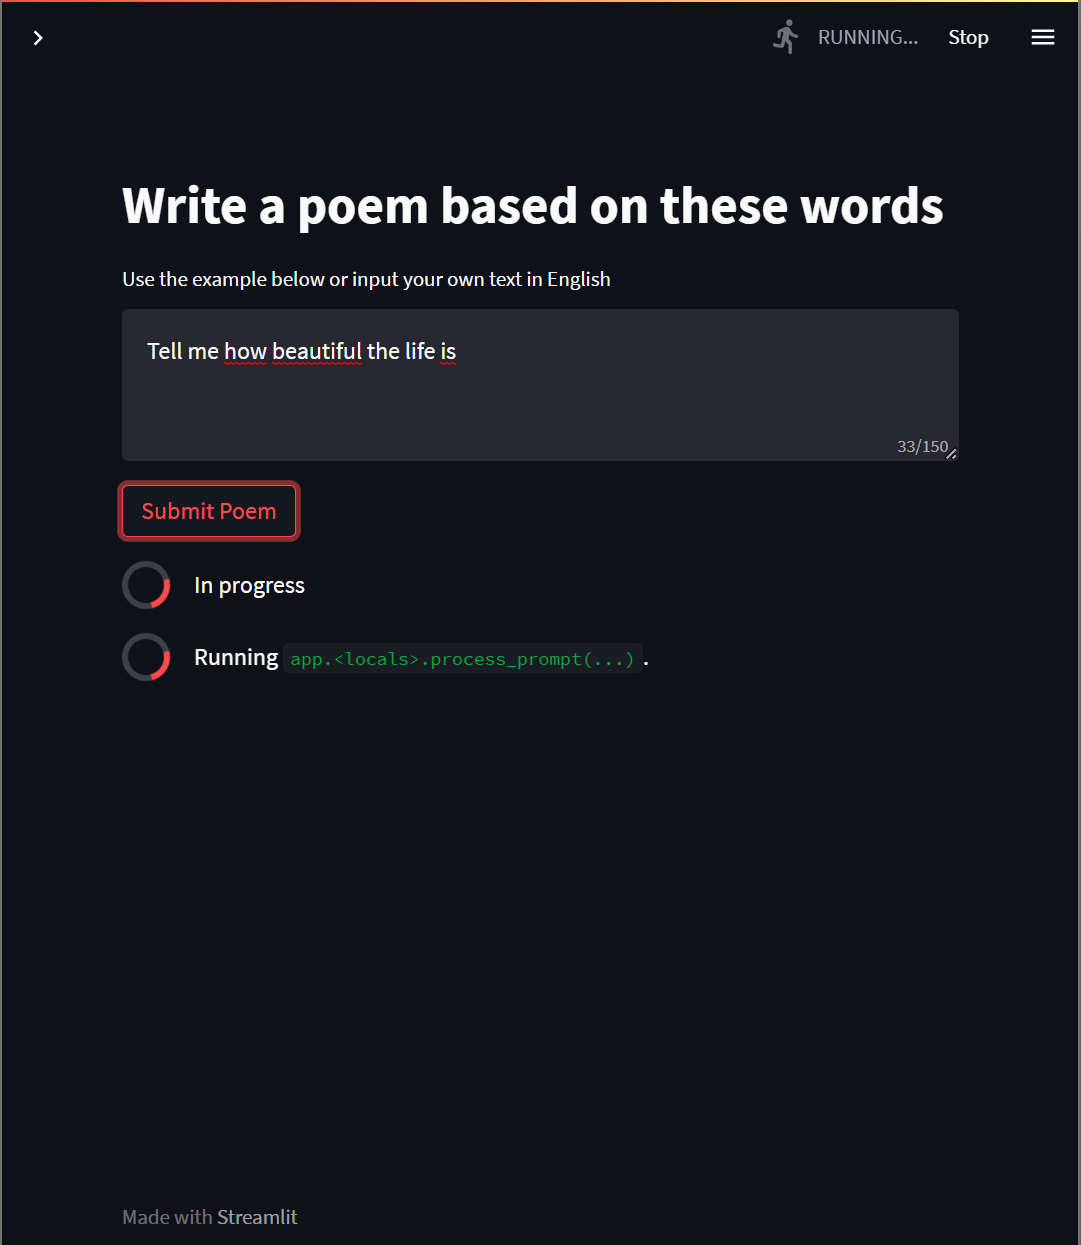
Test
Let's check if everything works. We can start our app by running the following command:
streamlit run gpt_app.py
And then we can enter our API Keys and generate poems and photos.
Conclusion
As you can see adding Stable Diffusion to your project is not that hard, the most important thing is to know why we want it in our project and to plan it well!
And if you want to learn more about how to use Stable Diffusion, we invite you to check our other AI tutorials on lablab.ai. The tools are amazing and open source,which means that as the community is developing new tools, models and solutions, for sure you will find one to fit your project!
And if you want to test in real world all of the Stable Diffusion skills you’ve learnt, you can join the upcoming Stable Diffusion AI Hackathon and create a prototype of an AI based application in just 7 days! And maybe push it to the next level with New Native’s slingshot accelerator program?
So what are you waiting for? Join the lablab.ai community, enroll in Stable Diffusion AI Hackathon and change the world with the power of AI! It’s that simple.
Thank you for your time! - Jakub Misiło @newnative
Co-Founder @ knm - https://knmstudio.com/