Stable Diffusion tutorial: Text-guided image-to-image generation with Stable Diffusion
This tutorial shows how to create a custom diffusers pipeline for text-guided image-to-image generation with the Stable Diffusion model using the 🤗 Hugging Face Diffusers library.
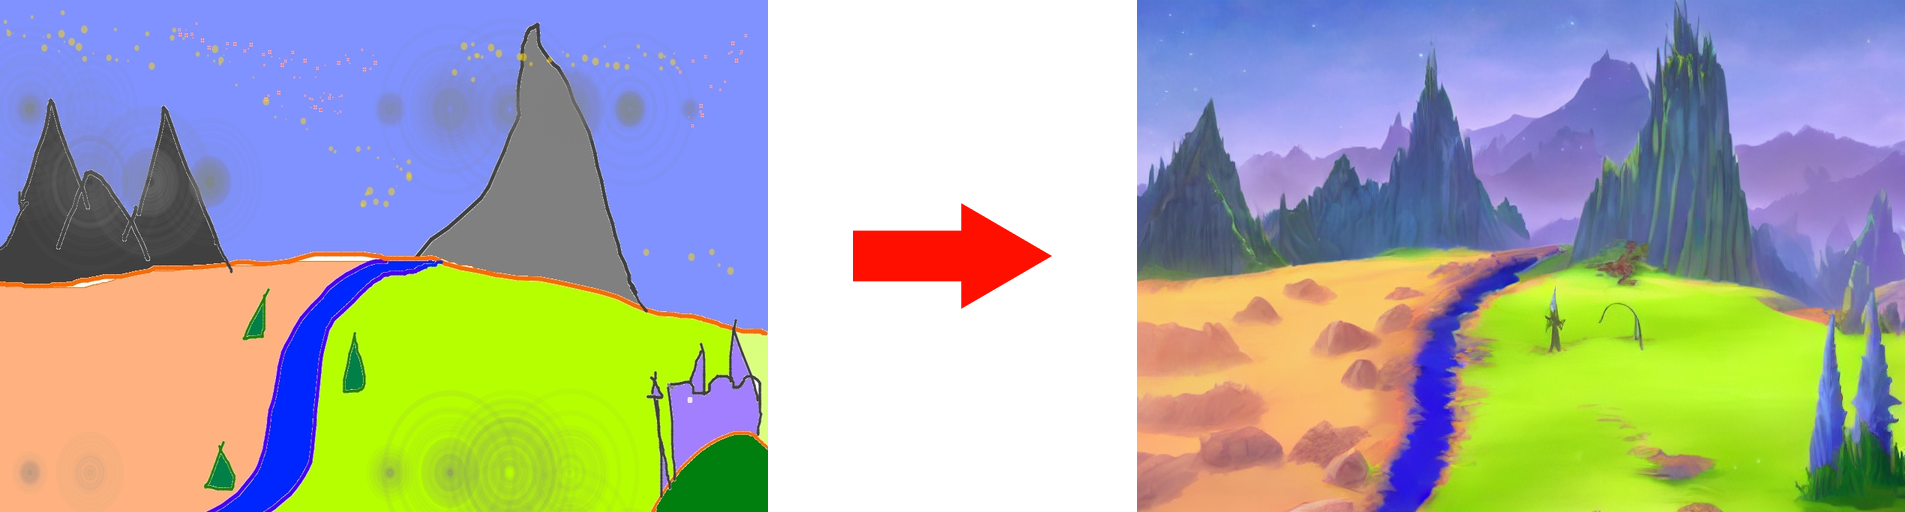
After reading, you will be able to create beautiful AI generated Artworks from a simple sketch.
Short introduction to Stable Diffusion
Stable Diffusion is a text-to-image latent diffusion model created by the researchers and engineers from CompVis, Stability AI and LAION. It's trained on 512x512 images from a subset of the LAION-5B database. This model uses a frozen CLIP ViT-L/14 text encoder to condition the model on text prompts. With its 860M UNet and 123M text encoder, the model is relatively lightweight and runs on most GPUs. If you want to learn more continue reading here.
Lets get started
!nvidia-smi
You need to accept the model license before downloading or using the weights. In this tutorial we'll use model version v1-4, so you'll need to visit its card, read the license and tick the checkbox if you agree.
You have to be a registered user in 🤗 Hugging Face Hub, and you'll also need to use an access token for the code to work. For more information on access tokens, please refer to this section of the documentation.
!pip install diffusers==0.3.0 transformers ftfy
!pip install -qq "ipywidgets>=7,<8"
Now we will login into 🤗 Hugging Face. You can use the notebook_login function to login.
from huggingface_hub import notebook_login

notebook_login()
After this we will get started with the Image2Image pipeline.
import inspect
import warnings
from typing import List, Optional, Union

import torch
from torch import autocast
from tqdm.auto import tqdm

from diffusers import StableDiffusionImg2ImgPipeline
Load the pipeline.
device = "cuda"
model_path = "CompVis/stable-diffusion-v1-4"

pipe = StableDiffusionImg2ImgPipeline.from_pretrained(
    model_path,
    revision="fp16",
    torch_dtype=torch.float16,
    use_auth_token=True
)
pipe = pipe.to(device)
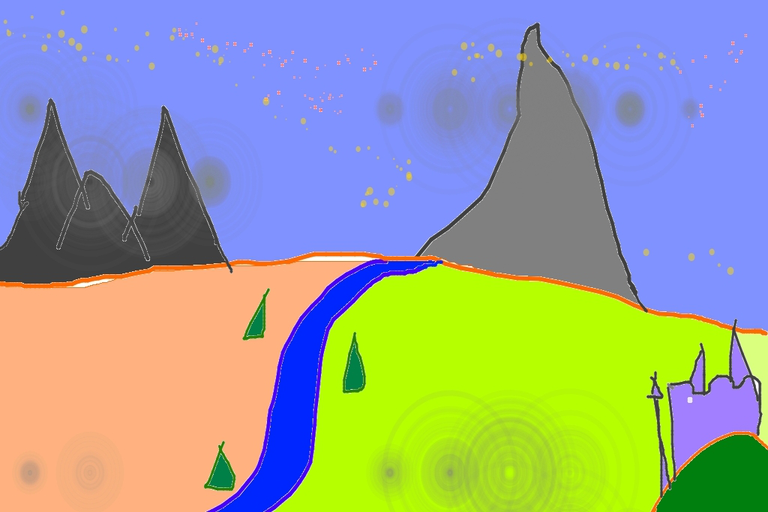
Download an initial image and preprocess it so we can pass it to the pipeline.
import requests
from io import BytesIO
from PIL import Image

url = "https://raw.githubusercontent.com/CompVis/stable-diffusion/main/assets/stable-samples/img2img/sketch-mountains-input.jpg"

response = requests.get(url)
init_img = Image.open(BytesIO(response.content)).convert("RGB")
init_img = init_img.resize((768, 512))
init_img
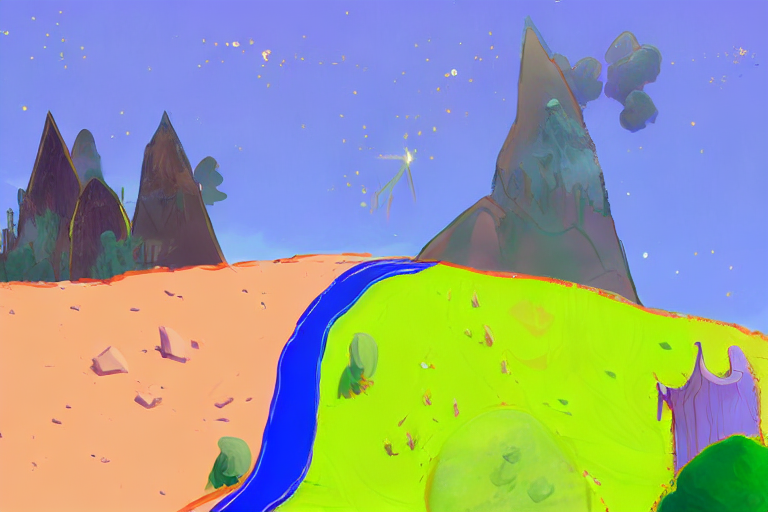
Define the prompt and run the pipeline.
prompt = "A fantasy landscape, trending on artstation"
Here, strength is a value between 0.0 and 1.0, that controls the amount of noise that is added to the input image. Values that approach 1.0 allow for lots of variations but will also produce images that are not semantically consistent with the input.
generator = torch.Generator(device=device).manual_seed(1024)
with autocast("cuda"):
    image = pipe(prompt=prompt, init_image=init_img, strength=0.75, guidance_scale=7.5, generator=generator).images[0]
In Colab you can print out the image by just typing:
image
And there you have it! A beautiful AI generated artwork from a simple sketch.

Futhermore, you can tune the parameters and test what work best for your usecase. As you can see, when using a lower value for strength, the generated image is more closer to the original init_image:
Thank you! If you enjoyed this tutorial you can find more and continue reading on our tutorial page - Fabian Stehle, Data Science Intern at New Native
More resources
Find the full Colab Notebook for this tutorial on our GitHub

Dev from Germany 🚀