Stable Diffusion tutorial: Stable Diffusion Image Variations using lambda diffusers
🧐 Short introduction to Stable Diffusion
Stable Diffusion is a text-to-image latent diffusion model created by the researchers and engineers from CompVis, Stability AI and LAION. It's trained on 512x512 images from a subset of the LAION-5B database.
About lambda diffusers
This version of Stable Diffusion has been fine tuned from CompVis/stable-diffusion-v1-3-original to accept CLIP image embedding rather than text embeddings. This allows the creation of "image variations" similar to DALLE-2 using Stable Diffusion. This version of the weights has been ported to huggingface Diffusers, to use this with the Diffusers library requires the Lambda Diffusers repo.
Let's get started and learn how to use Stable Diffusion Image Variations using lambda diffusers!
To run this tutorial we will use Google Colab and Google Drive
⚙️ Preparing dependencies
Download the necessary files:
%cd /content
!git clone https://github.com/LambdaLabsML/lambda-diffusers.git

%cd /content/lambda-diffusers
!git checkout 4d4386e5d2ae667d18987b1a505a47efc643e9c9
install the required libs:
%cd /content/lambda-diffusers


# for lambda-diffusers
!pip install -r requirements.txt
Import the required libs
%cd /content/lambda-diffusers

from pathlib import Path
from lambda_diffusers import StableDiffusionImageEmbedPipeline
from PIL import Image
import torch
from torch import autocast

from diffusers import StableDiffusionPipeline
from google.colab.patches import cv2_imshow
import cv2


device = "cuda" if torch.cuda.is_available() else "cpu"
🎥 Image to Image
Load the pipeline.
pipe = StableDiffusionImageEmbedPipeline.from_pretrained("lambdalabs/sd-image-variations-diffusers")
pipe = pipe.to(device)
download the intial image:
!rm -rf outputs
!rm -rf inputs
!mkdir outputs inputs

!wget -c https://raw.githubusercontent.com/Omarsesa/Lablab/main/R.jpg \
      -O inputs/test_01.jpg
cv2_imshow(cv2.imread('inputs/test_01.jpg'))

Generate the images
input_img_path = "inputs/test_01.jpg"

im = Image.open(input_img_path)
num_samples = 2
image = pipe(num_samples*[im], guidance_scale=3.0)
image = image["sample"]

base_path = Path("outputs")
base_path.mkdir(exist_ok=True, parents=True)
for idx, im in enumerate(image):
  im.save(base_path/f"{idx:06}.jpg")
- we load the image
- run the model
- save the output images
Show the image
Here we resize the images then concat them horizontally and show them
def hconcat_resize_min(im_list, interpolation=cv2.INTER_CUBIC):
  h_min = min(im.shape[0] for im in im_list)
  im_list_resize = [cv2.resize(im, (int(im.shape[1] * h_min / im.shape[0]), h_min), interpolation=interpolation) for im in im_list]

  return cv2.hconcat(im_list_resize)
kinput_cv_im = cv2.imread(input_img_path)

im_h = None
for i in range(num_samples):
  cv_im = cv2.imread(f"outputs/{i:06}.jpg")

  if i == 0:
    im_h = hconcat_resize_min([input_cv_im, cv_im])
  else:
    im_h = cv2.hconcat([im_h, cv_im])
    #pass

cv2_imshow(im_h)
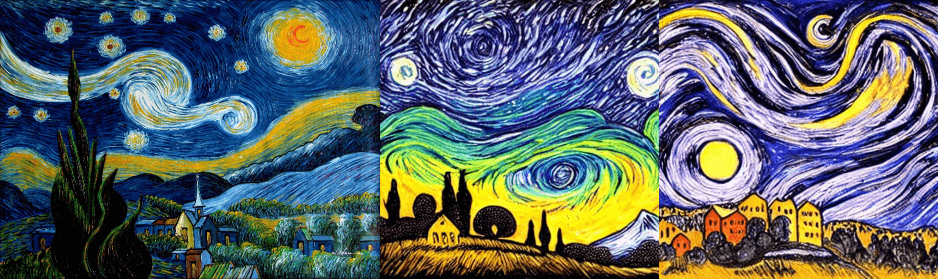
As you can see here we have different variations of the intial image
A big thank you to Hassen Shair for helping me write the tutorial!
Thanks for reading! Wait for next tutorials!


