Crafting Engaging Stories with AI: Building an Interactive Media App
Harnessing AI for Creative Brilliance: A Hackathon Guide to Building an Interactive Media App
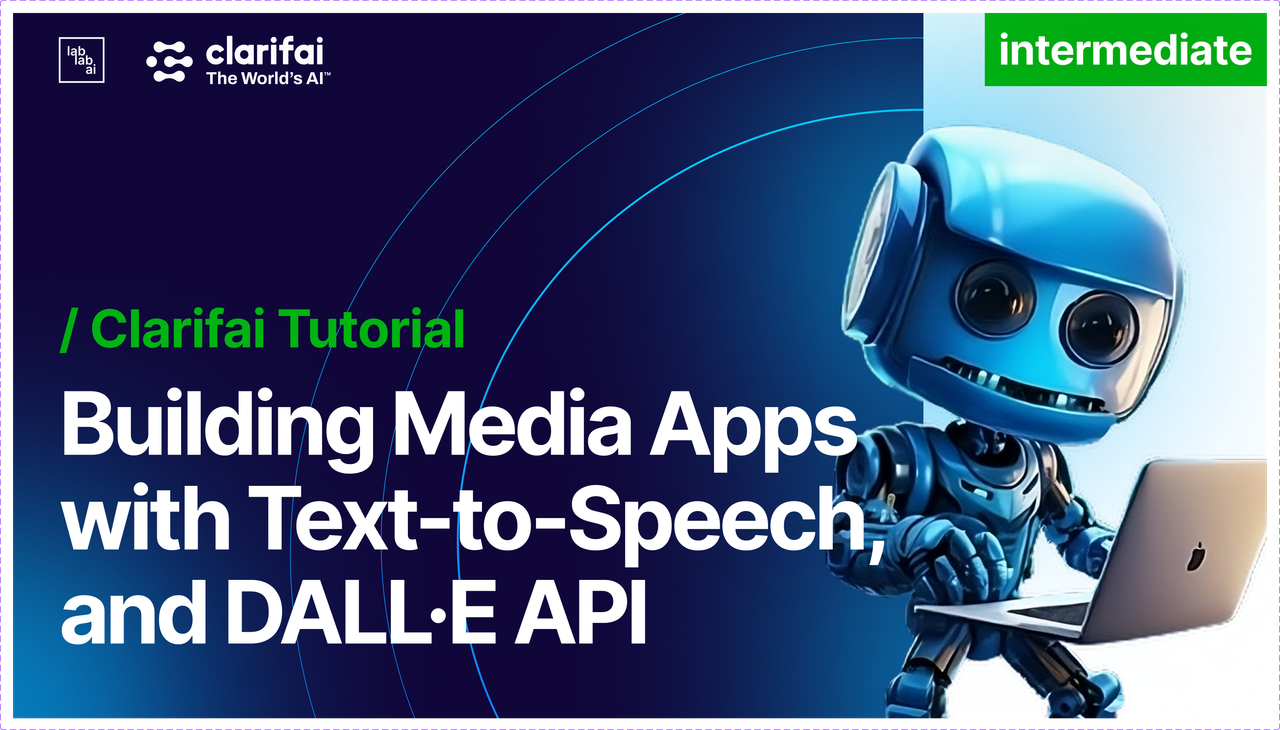
Hello, future hackathon winners! In this tutorial, I'm excited to show you how to build an AI-powered application that's sure to dazzle. We're going to work with Text-to-Speech using Clarifai, Image Generation with DALL·E API, and potentially, GPT-4 Turbo. This guide is your roadmap to understanding and utilizing these technologies in a cohesive application.
Introduction to Essential AI Technologies
Text-to-Speech with Clarifai
- What It Does: Transforms text into spoken words.
- Key Features: Offers a range of voices and languages, ideal for creating dynamic and accessible applications.
- Practical Applications: Useful in creating voice assistants, educational tools, and content for visually impaired individuals.
Image Generation with DALL·E API
- What It Does: Creates images from text descriptions using AI.
- Key Features: Ability to generate detailed images from complex descriptions.
- Practical Applications: Perfect for graphic design, creative arts, and content creation.
- Further reading: DALL·E Image Generation API.
Optional: GPT-4 Turbo through Clarifai
- What It Does: Advanced model for text understanding and generation.
- Key Features: Highly sophisticated in conversation and content creation.
- Practical Applications: Ideal for chatbots, content generation, and intricate data interpretation.
Building the Showcase Application: Interactive Media Creator
Concept Overview
We're crafting an app that allows users to input a description, generates comic art, creates a story from the image, and narrates this story. A complete AI-driven storytelling experience!
Development Steps
Setting Up Your Environment
- Tools Needed: Python, Streamlit, Clarifai, OpenAI, and PIL.
- API Keys: Secure your keys from Clarifai and OpenAI.
Crafting the Streamlit Interface
- UI Design: Create an engaging UI with Streamlit, including areas for input, buttons for generation, and panels for displaying results.
Integrating DALL·E for Image Generation
- Functionality: Code a
generate_imagefunction to use the DALL·E 3 API for creating images. - Display: Show these images dynamically in the Streamlit app.
Implementing Text-to-Speech
- Audio Conversion: Use Clarifai's API to turn text stories into audible speech.
- Playback Feature: Embed an audio player in the app.
Story Creation from Images
- Narrative Development: Optionally use GPT-4 for analyzing images and crafting stories.
- Text Display and Conversion: Show the text and convert it into speech.
Interactive Media App Code Breakdown: A Friendly Walkthrough
Alright, let's take a closer look at how the Interactive Media App works. I'll walk you through the code in a simple, friendly way, explaining what each part does and how it all fits together to create this cool app.
Setting Up Your Interactive Media App: Getting Started
Before we dive into the fun part of coding our Interactive Media App, there are a few important setup steps we need to follow. This involves getting some access keys and installing necessary packages. Don't worry, I'll guide you through each step!
Step 1: Grab Your Access Tokens
Clarifai Personal Access Token
- Visit Clarifai: Head over to Clarifai's security settings page.
- Get Your Token: Here, you'll find your personal access token. This is like a special password that lets your app talk to Clarifai's services. Copy this token.
OpenAI API Key
- Go to OpenAI: Visit the OpenAI website and log into your account.
- Retrieve Your Key: Find where they list your API key. This key is what allows your app to interact with OpenAI's powerful AI models.
Step 1: Set Up a Virtual Environment
Before starting with your project, it's important to create a virtual environment. This ensures that your project has an isolated space to manage dependencies, preventing conflicts between different projects.
-
Navigate to Your Project Directory:
- Use your terminal or command prompt to go to your project's folder.
-
Create the Virtual Environment:
-
Run the command:
python -m venv env -
This will create a new folder named
envin your project directory, which contains the virtual environment.
-
-
Activate the Virtual Environment:
- For Windows, run:
.\env\Scripts\activate - For macOS/Linux, run:
source env/bin/activate - Your command prompt should now show the name of the virtual environment, indicating that it's active.
- For Windows, run:
Step 2: Set Up Your Environment File
Now that you have your keys, you need to store them safely in your project.
-
Create a
.envFile: In your project folder, create a new file and name it.env. -
Add the Keys: Open this file and add your Clarifai and OpenAI keys like this:
CLARIFAI_PAT=Your_Clarifai_Personal_Access_Token
OPEN_AI=Your_OpenAI_API_Key
Replace
Your_Clarifai_Personal_Access_TokenandYour_OpenAI_API_Keywith the actual keys you copied.
Step 3: Installing Necessary Packages
Finally, you'll need to install a couple of Python packages.
-
Install Clarifai: This package lets your Python code interact with the Clarifai API.
pip install clarifai -
Install python-dotenv: This package will help your Python code read the
.envfile where you stored your API keys.pip install python-dotenv -
Install streamlit: Install streamlit for faster creation of our app.
pip install streamlit
Ready to Code!
With these steps completed, you're all set to start building the app. You have your access tokens safely stored and the necessary packages installed. Next up, I'll walk you through the code for creating your Interactive Media App. Let's get coding! 🚀👩💻👨💻
Starting with the Basics: Importing Libraries
import streamlit as st
from clarifai.client.model import Model
import base64
from dotenv import load_dotenv
from PIL import Image
from io import BytesIO

load_dotenv()
import os
This block is like gathering all the tools we need before we start building something. Here's what each tool does:
- streamlit (st): Think of this as our app's canvas. It's where we'll draw our user interface.
- clarifai.client.model: This is like a key to Clarifai's treasure chest, giving us access to their cool AI models.
- base64: A bit like a translator, turning images into a format that computers love to work with.
- dotenv and os: These two work together to keep our secret keys (API keys) safe and sound.
- PIL (Python Imaging Library) and BytesIO: These are our image wizards, helping us to handle and manipulate pictures.
Keeping Secrets: Environment Variables
clarifai_pat = os.getenv("CLARIFAI_PAT")
openai_api_key = os.getenv("OPEN_AI")
Here, we're retrieving the secret keys that we need to talk to Clarifai and OpenAI's services. It's like getting a special passcode to enter an exclusive club.
The Magic of Making Images: generate_image
def generate_image(user_description, api_key):
    prompt = f"You are a professional comic artist. Based on the below user's description and content, create a proper story comic: {user_description}"
    inference_params = dict(quality="standard", size="1024x1024")
    model_prediction = Model(
        f"https://clarifai.com/openai/dall-e/models/dall-e-3?api_key={api_key}"
    ).predict_by_bytes(
        prompt.encode(), input_type="text", inference_params=inference_params
    )
    output_base64 = model_prediction.outputs[0].data.image.base64
    with open("generated_image.png", "wb") as f:
        f.write(output_base64)
    return "generated_image.png"
In this function, we take what the user describes and use it to create an image. It's like telling an artist (in this case, the DALL-E model) what to paint, and then the artist whips up a beautiful image for us.
Understanding the Picture: understand_image
def understand_image(base64_image, api_key):
    prompt = "Analyze the content of this image and write a creative, engaging story that brings the scene to life. Describe the characters, setting, and actions in a way that would captivate a young audience:"
    inference_params = dict(temperature=0.2, image_base64=base64_image, api_key=api_key)
    model_prediction = Model(
        "https://clarifai.com/openai/chat-completion/models/gpt-4-vision"
    ).predict_by_bytes(
        prompt.encode(), input_type="text", inference_params=inference_params
    )
    return model_prediction.outputs[0].data.text.raw

    def encode_image(image_path):
    with open(image_path, "rb") as image_file:
        return base64.b64encode(image_file.read()).decode("utf-8")
After we have our image, this function steps in. It looks at the picture and tells us a story about it. We're using another AI model here to turn images into creative stories.
Speaking the Story: text_to_speech
def text_to_speech(input_text, api_key):
    inference_params = dict(voice="alloy", speed=1.0, api_key=api_key)
    model_prediction = Model(
        "https://clarifai.com/openai/tts/models/openai-tts-1"
    ).predict_by_bytes(
        input_text.encode(), input_type="text", inference_params=inference_params
    )
    audio_base64 = model_prediction.outputs[0].data.audio.base64
    return audio_base64
Now, we take the story that our AI model wrote for us and turn it into speech. It's like turning a book into an audiobook so you can listen to the story instead of reading it.
Bringing It All to Life: main
def main():
    st.set_page_config(page_title="Interactive Media Creator", layout="wide")
    st.title("Interactive Media Creator")

    with st.sidebar:
        st.header("Controls")
        image_description = st.text_area("Description for Image Generation", height=100)
        generate_image_btn = st.button("Generate Image")

    col1, col2 = st.columns(2)

    with col1:
        st.header("Comic Art")
        if generate_image_btn and image_description:
            with st.spinner("Generating image..."):
                image_path = generate_image(image_description, clarifai_pat)
                if image_path:
                    st.image(
                        image_path,
                        caption="Generated Comic Image",
                        use_column_width=True,
                    )
                    st.success("Image generated!")
                else:
                    st.error("Failed to generate image.")

    with col2:
        st.header("Story")
        if generate_image_btn and image_description:
            with st.spinner("Creating a story..."):
                base64_image = encode_image(image_path)
                understood_text = understand_image(base64_image, openai_api_key)
                audio_base64 = text_to_speech(understood_text, openai_api_key)
                st.audio(audio_base64, format="audio/mp3")
                st.success("Audio generated from image understanding!")
This is where we build our app's interface and put everything together. We set up a space for users to type in their descriptions, a button to make the magic happen, and areas to display the generated image and story.
Running the Show
if __name__ == "__main__":
    main()
And finally, this little bit of code is what starts everything off. It's like the "Open for Business" sign that gets everything rolling.
Save your code in main.py and run it
streamlit run main.py
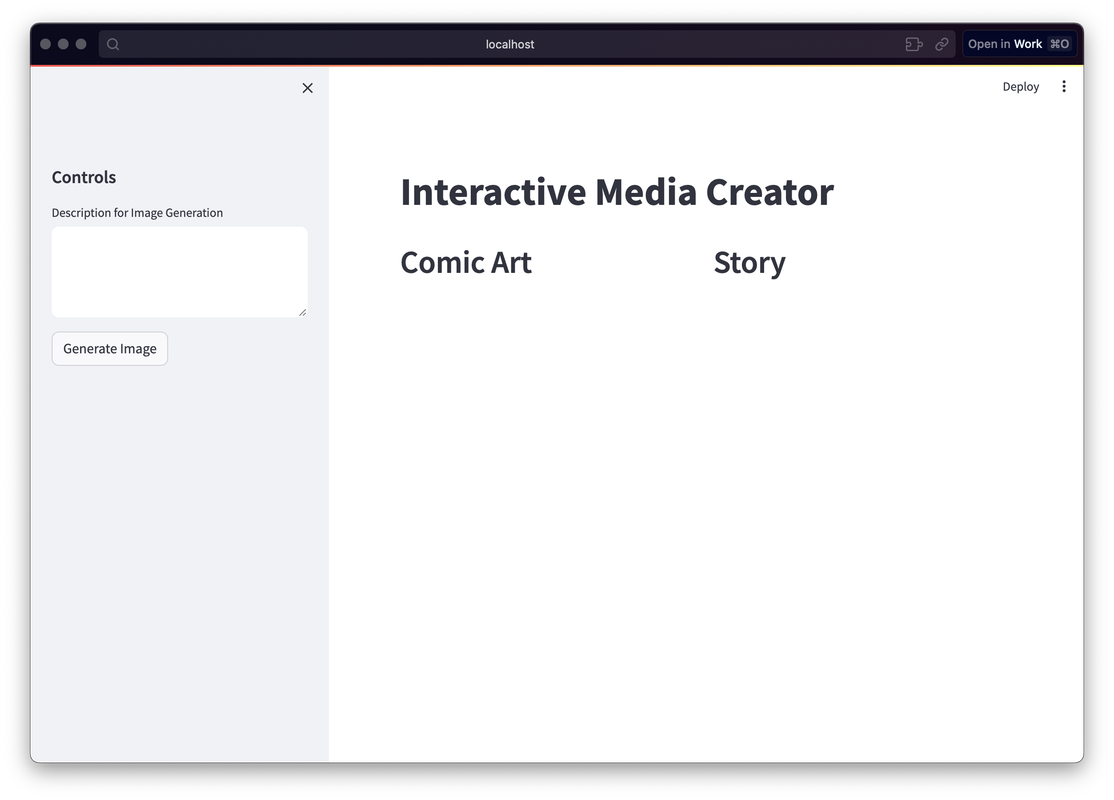
Sneak Peek into the app
Generations of Image
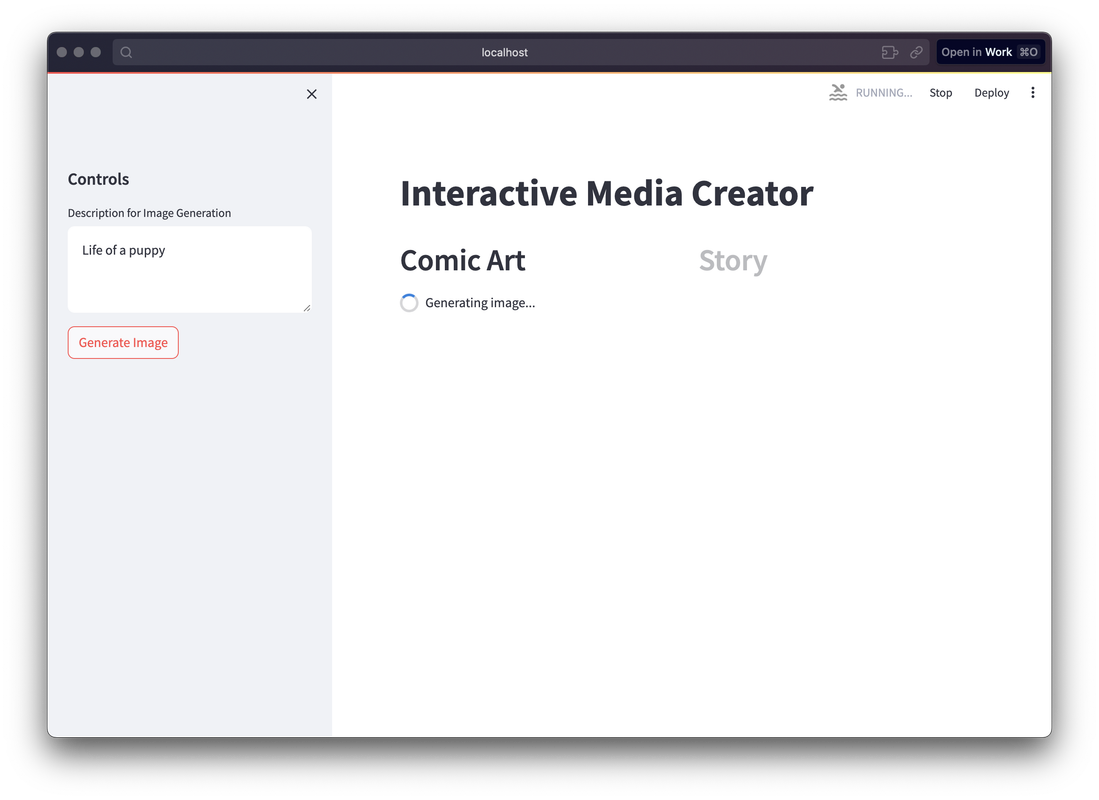
Image and Story Generated
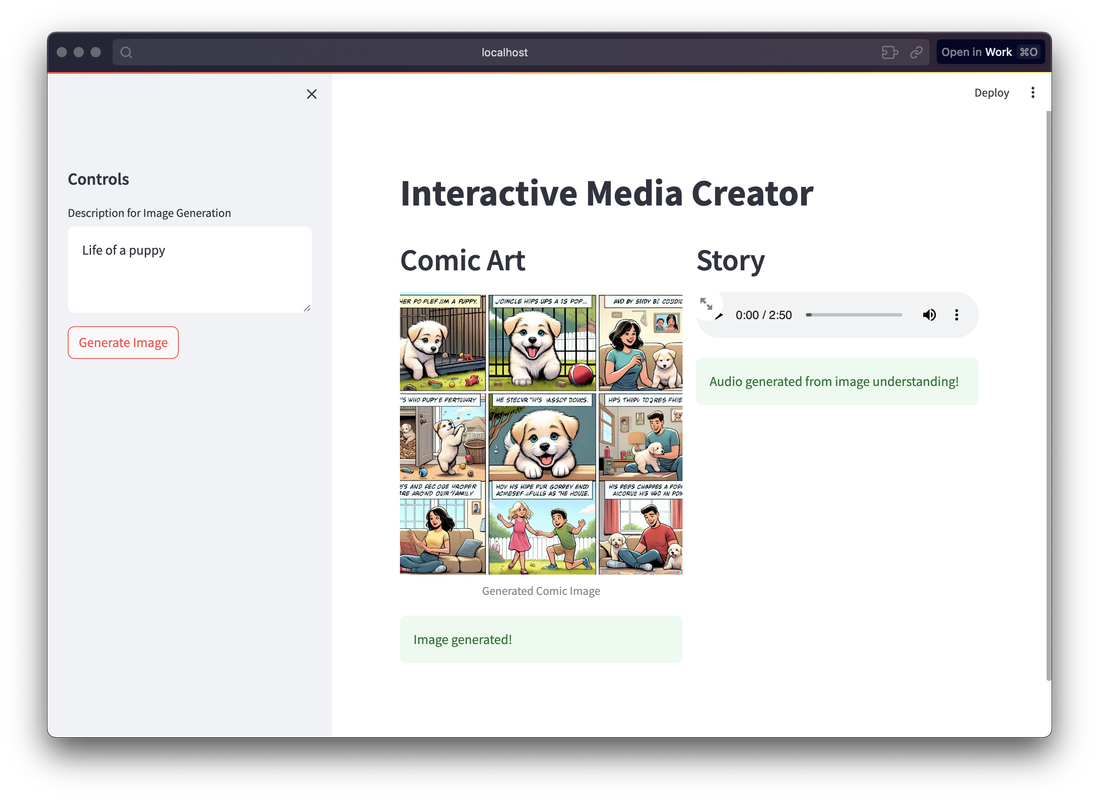
And there you have it! Step by step, we built up an app that can turn descriptions into images, images into stories, and stories into spoken words. It's a whole journey from text to an engaging multimedia experience, all powered by AI! 🚀🌟👩💻👨💻
Wrapping Up: Tips for Hackathon Success
Final Touches
- Testing: Ensure all components work flawlessly together.
- User Experience: Focus on creating an engaging and intuitive interface.
Winning Strategies
- Creativity: Use AI in unique ways to address real challenges.
- Presentation Skills: Articulate the value and functionality of your app effectively.
- Teamwork: Collaborate to blend diverse skills and perspectives.
Resources for Deep Dives
- Explore more about OpenAI's capabilities at the OpenAI tech page.
- Get detailed insights into DALL-E 2 on the DALL-E-2 page.
You're now armed with the knowledge to create a standout AI-powered application for your next hackathon. Embrace creativity, technical skill, and presentation prowess, and you're sure to make an impact. Happy coding, and I can't wait to see what you create! 🌟🚀👩💻👨💻