AI21 Labs tutorial: How to create a text improver app
What is an AI21 Studio?
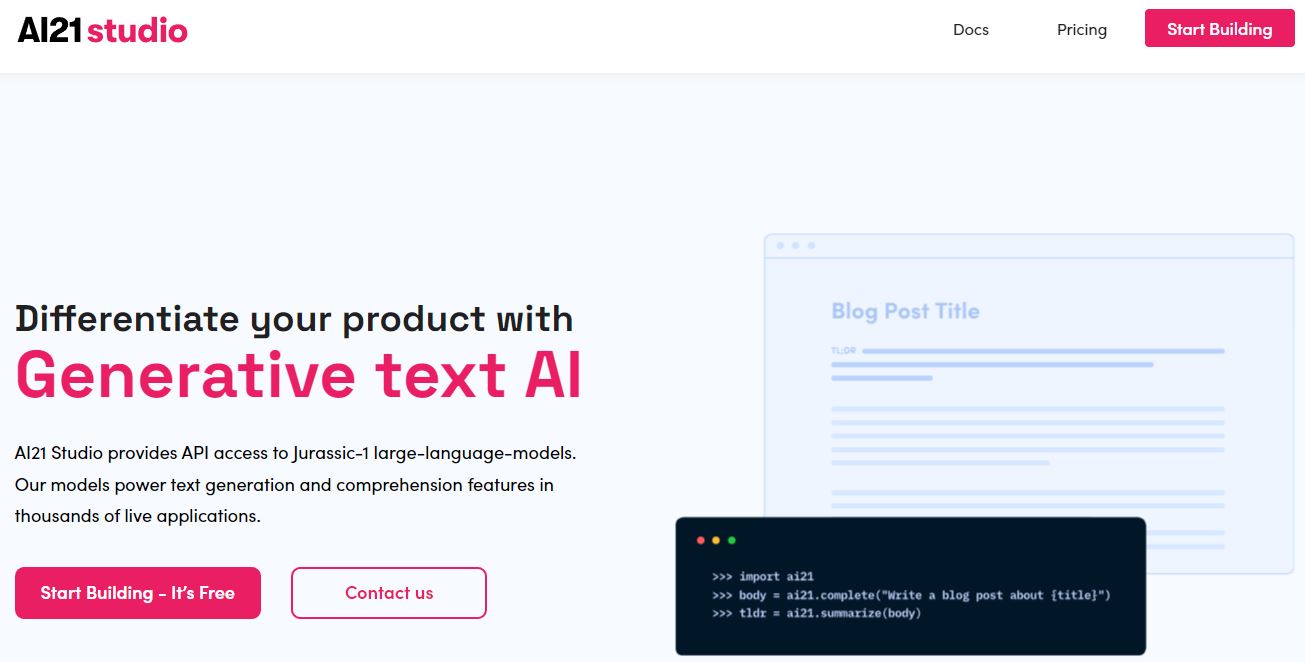
An AI development platform called AI21 Studio was created to make it simpler and more economical for companies to build, train, and use Natural Language Processing (NLP) applications. They are providing several models and APIs to help you build your own NLP applications.
Where to start?
You must first create an account and sign up for a free trial of AI21 Studio before using it. If you're unfamiliar with AI21 Studio, this will grant you access to the Playground, which is a terrific place to start. You may test out numerous platform models and features as well as the API in the playground. Before digging into the more advanced possibilities, you can use the playground to get acquainted with the platform and its features. When you feel comfortable using the platform, you may start making your own projects and experimenting with its more sophisticated features. Here we will get our API key
Text Improvements API
Text Improvements API is using AI21 Labs state-of-the-art recommendations engine.
Is is optimized for generating high-quality text improvements efficiently.
This is the engine that is behind the
Wordtune application.
We can test this endpoint on AI21 Labs Documentation page
Creating our project
Let's create our nextjs project. I was using their own template to start with.
npx create-next-app@latest text-improver --use-npm --example "https://github.com/vercel/next-learn/tree/master/basics/learn-starter"
Creating the API route
Let's first save our API key in a .env.local file in the root of our project and name the key API_KEY.
In the pages folder we will create a new folder called api and a file called improve.js.
Here we prepare the endpoint for our call from frontend to backend. The code is basically from AI21 Labs documentation page they are providing code
for many different programming languages. We will use the fetch method to call the API. We will use the POST method to send the text we want to improve.
We add an array what type of improvements we would like to get. And the result we are forwarding to the frontend.
export default async function handler(req, res) {
  if (req.method === "POST") {
    const improvements = await fetch(
      "https://api.ai21.com/studio/v1/improvements",
      {
        method: 'POST',
        headers: {
          accept: 'application/json',
          'content-type': 'application/json',
          Authorization: `Bearer ${process.env.API_KEY}`
        },
        body: JSON.stringify({
          types: [
            'fluency',
            'vocabulary/specificity',
            'vocabulary/variety',
            'clarity/short-sentences',
            'clarity/conciseness'
          ],
          text: req.body.text
        })
      }
    ).then((res) => res.json())
    res.status(200).json(improvements)
  } else {
    res.status(405).json({ message: "Method not allowed" })
  }
}
Creating the frontend
First we will create an input component. Let's create a new folder called components and a file called TextImprovementInput.jsx.
Here we create few useState Hooks to store the default text, text we want to improve and the improvements we get back from the API.
const [text, setText] = useState(defaultText);
const [improvements, setImprovements] = useState([]);
const [textArray, setTextArray] = useState([]);
I will already add the components that will be returned
    <>
      <div className="text-improvement-input">
        <textarea
          id="textbox"
          rows="4"
          cols="40"
          name="textbox"
          defaultValue={text}
          onChange={(e) => setText(e.target.value)}
        ></textarea>
        <button onClick={handleButtonClick}>Improve</button>
      </div>
      {textArray.length > 0 && (
        <div>
          <h3>The red text can be improved click on it</h3>
          <div>
            Here we will return the text
          </div>
        </div>
      )}
      <style jsx>{`
        .text-improvement-input {
          display: flex;
          flex-direction: column;
          width: 70%;
        }
        #textbox {
          margin-bottom: 10px;
        }
        .notthebest {
          background-color: #ff0000;
          font-color: red;
        }
      `}</style>
    </>
So we have a controlled element with an input and a button. When we click the button we will call the API and get the improvements. Hurray! But wait, because we did not create the handleButtonClick function yet. Let's do it now just under the useState hooks
  const handleButtonClick = async () => {
    try {
      const response = await fetch("api/improve", {
        method: "POST",
        headers: {
          "Content-Type": "application/json",
        },
        body: JSON.stringify({ text }),
      });
      const data = await response.json();
      setImprovements(data?.improvements);
    } catch (error) {
      console.error(error);
    }
  };
Now we have the improvements in an array, but we need to display them. To be able to display the whole text with the improvements I was manipulating the data a bit and created a new array with objects. I did it with a useEffect hook. This way I can store in one place the text that needs to be improved and the improvements and the text that is OK.
  useEffect(() => {
    if (improvements.length > 0) {
      let textArray = [];
      let endIndex = 0;
      improvements.forEach((improvement, index) => {
        index &&
          textArray.push({
            originalText: text.slice(endIndex, improvement.startIndex),
            suggestions: [],
            improvementType: "",
          });
        textArray.push({
          originalText: text.slice(
            improvement.startIndex,
            improvement.endIndex
          ),
          suggestions: improvement.suggestions,
          acceptedText: "",
          improvementType: improvement.improvementType,
        });
        index === improvements.length - 1 &&
          textArray.push({ originalText: text.slice(improvement.endIndex) });
        endIndex = improvement.endIndex;
      });
      setTextArray(textArray);
      return;
    }
    setTextArray([]);
  }, [improvements]);
Now we can display the text easily by mapping through the textArray. But let's improve our code a bit.
Let's create another component called Texts.jsx here we will get the text, and the index of the array.
We will show a modal when we click on the text that needs to be improved and we change the text in the array with that.
import { useState, useCallback } from "react";
import Modal from "./Modal";

const Texts = ({ text, changeTheTextInTextArray, index: textIndex }) => {
  const [showModal, setShowModal] = useState(false);

  const handleClick = useCallback(() => {
    if (text.suggestions?.length > 0) {
      setShowModal(true);
    }
  }, [text.suggestions]);

  return (
    <>
      <span
        style={{
          color: `${text.suggestions?.length > 0 ? "red" : ""}`,
          cursor: `${text.suggestions?.length > 0 ? "pointer" : ""}`,
        }}
        onClick={handleClick}
      >
        {text.acceptedText || text.originalText}
      </span>
      {text.suggestions?.length > 0 && showModal && (
        <Modal
          setShowModal={setShowModal}
          text={text}
          changeTheTextInTextArray={changeTheTextInTextArray}
          textIndex={textIndex}
        />
      )}
    </>
  );
};

export default Texts;
We need to add the following code to our TextImprovementInput.jsx file where I was writint Here we will return the text
{textArray.map((text, index) => (
  <Texts
    text={text}
    key={index}
    changeTheTextInTextArray={changeTheTextInTextArray}
    index={index}
  />
))}
I forgot about a callback function to our TextImprovementInput.jsx file. We need to add this function as well and pass it as a variable to Texts.jsx
  const changeTheTextInTextArray = useCallback(
    ({ index, suggestion }) => {
      let newTextArray = [...textArray];
      newTextArray[index].acceptedText = suggestion;
      setTextArray(newTextArray);
    },
    [textArray]
  );
We are getting there. Now we need to create the Modal.jsx component. This component will show the suggestions and the improvement type.
import { useRef, useEffect } from "react";
const Modal = ({ setShowModal, text, changeTheTextInTextArray, textIndex }) => {
const modalRef = useRef(null);
useEffect(() => {
const handleClickOutside = (event) => {
if (modalRef.current && !modalRef.current.contains(event.target)) {
setShowModal(false);
}
};
document.addEventListener("mousedown", handleClickOutside);
return () => {
document.removeEventListener("mousedown", handleClickOutside);
};
}, [modalRef, setShowModal]);
return (
<>
<div className="modal">
<div className="modal-content" ref={modalRef}>
<span className="close" onClick={() => setShowModal(false)}>
×
</span>
<p>Original text: {text.originalText}</p>
<p>Improvement type: {text.improvementType}</p>
<ul>
{text.suggestions.map((suggestion, index) => (
<li
style={{ cursor: "pointer"}}
key={index}
onClick={() => {
changeTheTextInTextArray({ index: textIndex, suggestion });
setShowModal(false);
}}
>
{suggestion}
</li>
))}
</ul>
</div>
</div>
<style jsx>{`
.modal {
position: fixed; /* Stay in place */
z-index: 1; /* Sit on top */
left: 0;
top: 0;
width: 100%; /* Full width */
height: 100%; /* Full height */
overflow: auto; /* Enable scroll if needed */
background-color: rgb(0, 0, 0); /* Fallback color */
background-color: rgba(0, 0, 0, 0.4); /* Black w/ opacity */
}
.modal-content {
background-color: #fefefe;
margin: 15% auto; /* 15% from the top and centered */
padding: 20px;
border: 1px solid #888;
width: 60%; /* Could be more or less, depending on screen size */
}
.close {
color: #aaa;
float: right;
font-size: 28px;
font-weight: bold;
cursor: pointer;
}
`}</style>
</>
);
};
export default Modal;
That was not so hard, was it? Now we can see the suggestions when we click on the red word and change the word by clicking on the suggestion.
Summary
AI21 Labs has super cool products you can develop with them very fast. I hope you enjoyed this tutorial. If you find any error or you have any questions
or improvements you can create pull request or create issue on our tutorial repository. If you want to see the whole
project you can check it out
here

I like cookies and running and programming